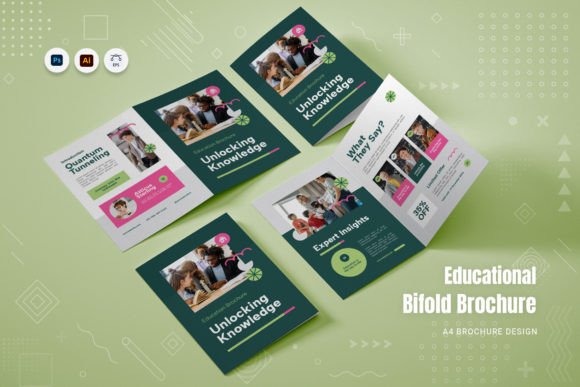
Mastering the Educational Bifold Brochure: A Practical Guide to Professional Design
Creating effective educational materials requires more than just compelling text; it demands a visual structure that guides the reader effortlessly through complex information. An Educational Bifold Brochure serves as a powerful tool for this purpose, bridging the gap between dense academic content and engaging marketing communication. Whether you are an educator distributing course outlines, a small business owner explaining services, or a marketer promoting a workshop, the physical layout of your document significantly impacts how your message is received. However, many creators overlook the technical nuances that transform a simple folded paper into a professional-grade asset.
The appeal of using a pre-designed template lies in its efficiency. Instead of starting from a blank canvas, you leverage a structure that has already been optimized for readability and visual flow. Yet, relying on a template without understanding its underlying mechanics can lead to frustrating results. This guide explores common pitfalls users encounter when working with bifold designs and offers corrective strategies to ensure your final product is both aesthetically pleasing and functionally robust.
Understanding the Technical Foundation
Before diving into design choices, it is crucial to understand what makes a high-quality template viable for professional use. A superior Educational Bifold Brochure template is not merely a collection of shapes and text boxes; it is a meticulously organized file built for print precision. Key specifications such as A4 Paper Size, CMYK color mode, and 300 DPI resolution are non-negotiable for print-ready materials. Ignoring these basics often results in blurry images, color shifts, or sizing errors that require costly reprints.
Many beginners mistakenly assume that any digital file can be sent directly to a printer. In reality, print production requires specific preparations. For instance, the inclusion of bleed areas ensures that background colors extend to the very edge of the paper after trimming. Without bleed, you risk unsightly white borders appearing on your final brochures. Similarly, working in CMYK rather than RGB prevents the vibrant colors you see on your screen from turning dull and muddy when printed. Recognizing these technical requirements early saves time and resources.
Common Mistakes in Template Customization
One of the most frequent errors users make is neglecting the layer organization of their design files. High-quality templates, such as those provided in Adobe Illustrator (AI) or Adobe InDesign (INDD) formats, come with fully layered and well-organized structures. When users flatten these layers or delete hidden elements without caution, they lose the ability to make precise edits later. This lack of flexibility can hinder your ability to swap out images or adjust text blocks efficiently.
Another overlooked detail is font compatibility. While many modern templates boast the use of free fonts, users often fail to install them correctly or substitute them with similar-looking alternatives that disrupt the layout’s balance. This substitution can cause text overflow, where paragraphs spill out of their designated text boxes, ruining the clean and modern layout intended by the designer. Always check the included Readme.txt file for font links and installation instructions before beginning your edit.
The Trap of Ignoring Image Placeholders
Templates typically include image placeholders designed to maintain aspect ratios and visual harmony. A common mistake is dragging and dropping images without adjusting their framing, leading to distorted subjects or awkward cropping. Instead of forcing an image to fit, utilize the clipping mask features inherent in layered templates. This approach allows you to reposition the image within the frame while preserving its original proportions, ensuring a polished and professional appearance.
Strategic Content Placement
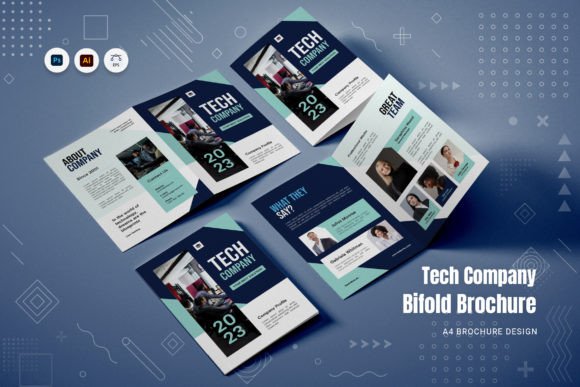
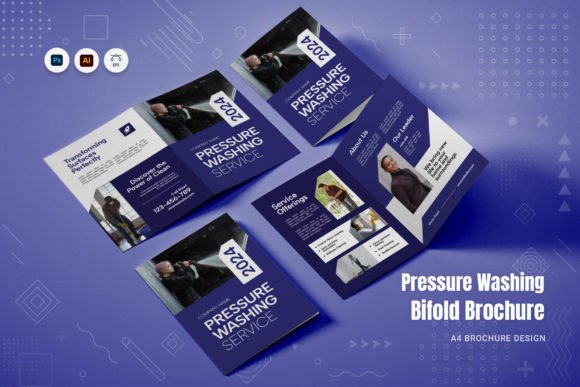
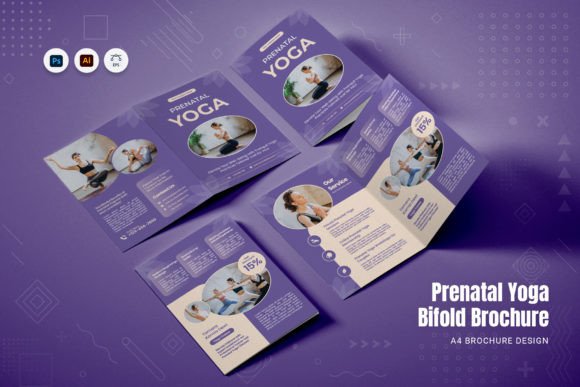
The bifold format offers four distinct panels, each serving a specific communicative purpose. Misunderstanding this flow can result in a disjointed reader experience. The front cover should captivate attention with a strong headline and compelling visuals. The inside spread is where you deliver the core educational content, utilizing paragraph styles to create hierarchy and readability. The back panel often serves as a call to action or contact information hub.
Many creators cram too much information onto the inside panels, fearing that whitespace looks like wasted space. In reality, whitespace is a critical design element that enhances comprehension and reduces cognitive load. A stylish web template layout translated into print should retain its airy, clean aesthetic. Use bullet points, short paragraphs, and clear headings to break up text. This approach respects the reader’s time and makes the information more digestible.
Ensuring Print-Ready Quality
Even with a perfect design, the final output depends on proper file preparation. Before sending your Educational Bifold Brochure to print, perform a thorough review. Check that all images are linked and high-resolution. Verify that text is converted to outlines if required by your printer, or ensure that fonts are embedded correctly. Confirm that the bleed settings match the printer’s specifications, typically extending 3mm beyond the trim line.
It is also wise to export a PDF proof for a final visual check. Look for any stray anchor points, overlapping objects, or color inconsistencies. This step acts as a safety net, catching errors that might be missed in the native editing environment. By treating the export process with the same care as the design phase, you ensure that the physical brochure reflects the quality of your digital work.
Making the Right Choice for Your Needs
When selecting a template, consider the ease of customization. A super easy to edit file saves hours of frustration. Look for templates that offer modular elements, allowing you to rearrange sections without breaking the overall design. The availability of both AI and INDD files provides flexibility depending on your preferred software and expertise level. Adobe Illustrator is ideal for vector-heavy designs, while InDesign excels in multi-page layouts and text-heavy documents.
Ultimately, the goal is to communicate information clearly and creatively. By avoiding common technical pitfalls and respecting the structural integrity of the bifold format, you can produce materials that not only inform but also impress. Whether you are a freelancer, educator, or entrepreneur, mastering these details elevates your brand’s professionalism and ensures your message resonates with your audience.
- Always verify CMYK color mode and 300 DPI resolution for print accuracy.
- Utilize built-in free fonts to maintain design consistency and avoid licensing issues.
- Respect layer organization to keep the file editable and efficient.
- Incorporate bleed areas to prevent white edges after trimming.
- Balance text with whitespace to enhance readability and visual appeal.
By approaching your design process with attention to detail and a clear understanding of print requirements, you transform a simple template into a powerful communication tool. The right preparation ensures that your Educational Bifold Brochure stands out for all the right reasons, delivering value to your readers and reflecting positively on your professional identity.